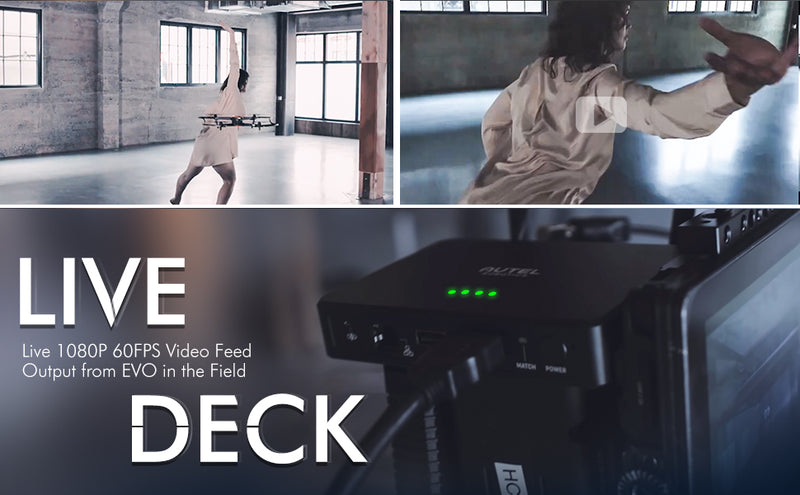
The Autel Robotics Live Deck 1 is a wireless video output accessory for use with EVO. Now, the Live Deck 2 comes out and it serves all Autel EVO II V3 drones. Here, we will describe how to use Live Deck 2?
Connect to use Live Deck 2

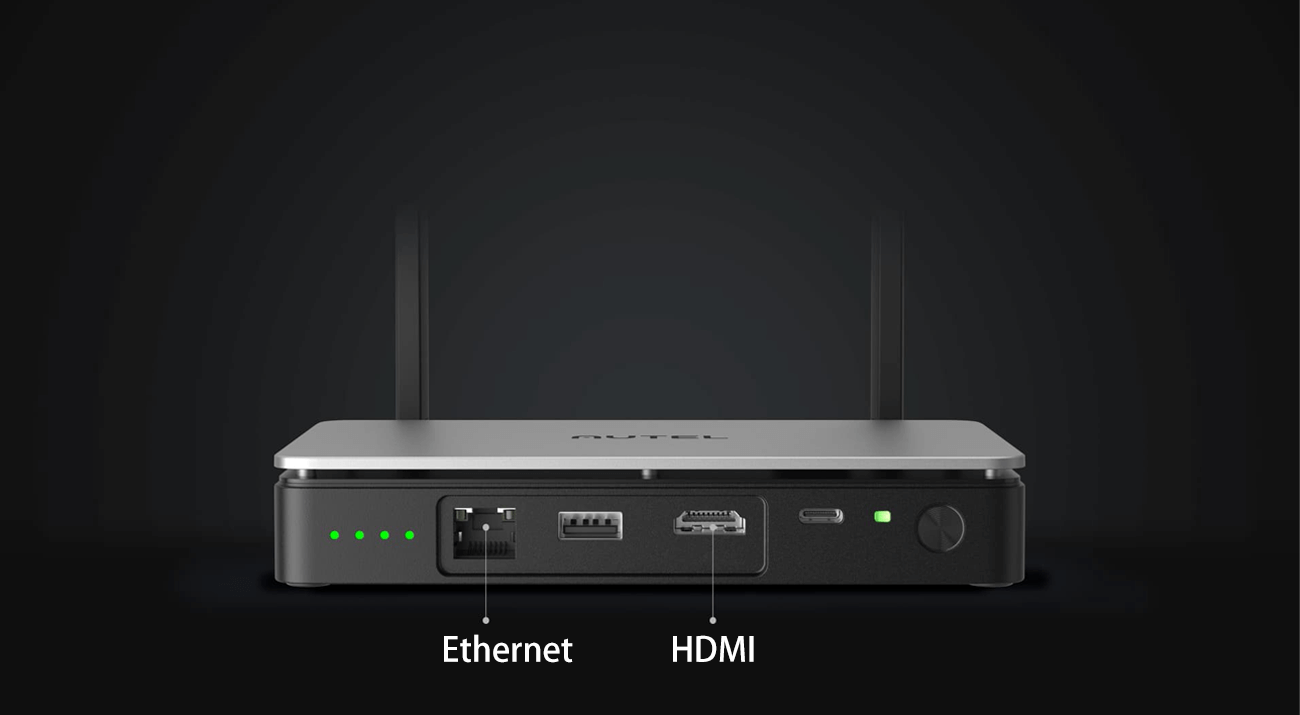
How to use HDMI Output?

- First, pair the drone with the Live Deck 2.
- Press the pairing button, when the indicator light changes from fast flashing to slow flashing, it means that the pairing between the two is successful;
- When the Live Deck is online, the indicator will turn solid green;
- Select the HDMI cable to plug into the Live Deck device, select the appropriate HDMI input, and the computer will display the live drone video.
How to use USB Output?
- Connect the live deck to your mobile device with a USB cable;
- Open the autel explorer app and select Smart Photography to display the live video feed.
How to use Ethernet Output?
- Turn on the mac OS device/windows system in a computer with a network cable;
- For the first time, you need to perform static IP address and gateway settings;
- Open a video player that supports RTSP network video streaming, such as VLC;
- Set the playback frame rate and cache settings of the player;
- Enter the RTSP stream address until the live video feed is displayed.
Related Question

What is Live Deck?
The Live Deck acts as a drone live console that pairs quickly with the Autel drone remote to access multiple video outputs such as HDMI, USB and Ethernet.

What can Live Deck 2 do?
Live Deck 2 supports multiple video output options for connecting to TVs, computers, and compatible iOS and Android devices. Real-time full HD video transmission for better situational awareness.
Is Live Deck 2 better than Live Deck 1?
Live Deck 1 transmits full 1080p HD video at 60fps to 7km away, Live Deck 2 transmits complete 1080p HD video at 60fps to 12km away, tri-band automatic switching output, anti-interference ability is Live Deck 4 times 1.


